How to build a location based app in React Native - Part 1
Updated:
Learn how to create a location-based app in React Native. This step-by-step guide covers setup, geolocation, and map integration for beginners and experienced developers.
I want to build a mobile app called Walkwaves for exploring the city. When I walk around London, I want the app to tell me what interesting buildings or monuments are nearby.
London is such a historic city, I think it would be a really fun way to explore it. Ideally, I'd like to just have the app running in the background and tell me (via text to speech) when I'm near an interesting place.
I'm writing this series of tutorials to show how I'm building this app and hopefully along the way, I can help you learn some React Native. I'm myself learning it as I build.
I already know React, so the tutorials assume some basic knowledge of React.
The whole app is quite complex, so I'm splitting it into many tutorials. In this first tutorial we're just going to build a simple geocoder app which can take a set of location co-ordinates (latitude, longitude) and convert them into a human understandable address or place name.
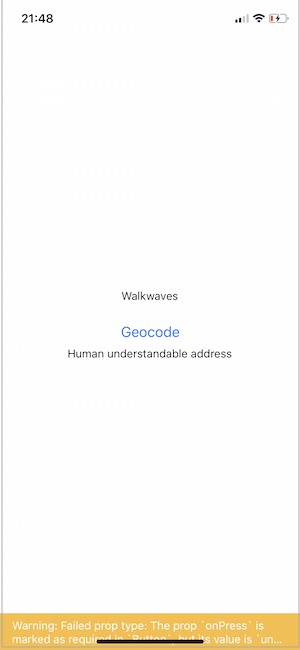
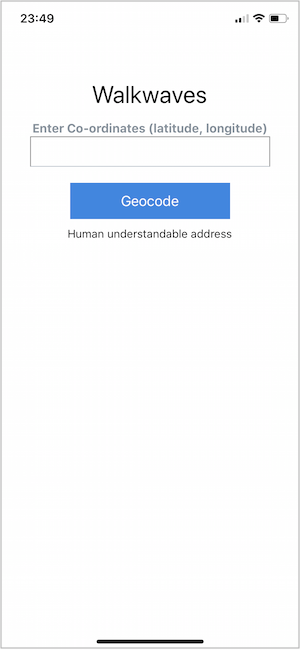
This is what we're going to build in this tutorial:
First, let's get setup. Make sure you have Node installed.
The official docs say that Expo is the easiest way to get started, so that's what I'm going to do.
Install the Expo CLI command line utility:
#Run this on the command line

npm install -g expo-cli
At the time of writing this tutorial, the latest React Native version of 0.57.
Step 2: Initialise a new app
Next, let's create our new app Walkwaves (you can call yours whatever you want!):
#Run this on the command line

expo init Walkwaves
? Choose a template: (Use arrow keys)
❯ blank
  The Blank project template includes the minimum dependencies to run and an empty root component.
  tabs
  The Tab Navigation project template includes several example screens.
Choose the blank template.
Step 3: Start the development server
Then cd into the directory and start the development server.
#Run this on the command line
cd Walkwaves
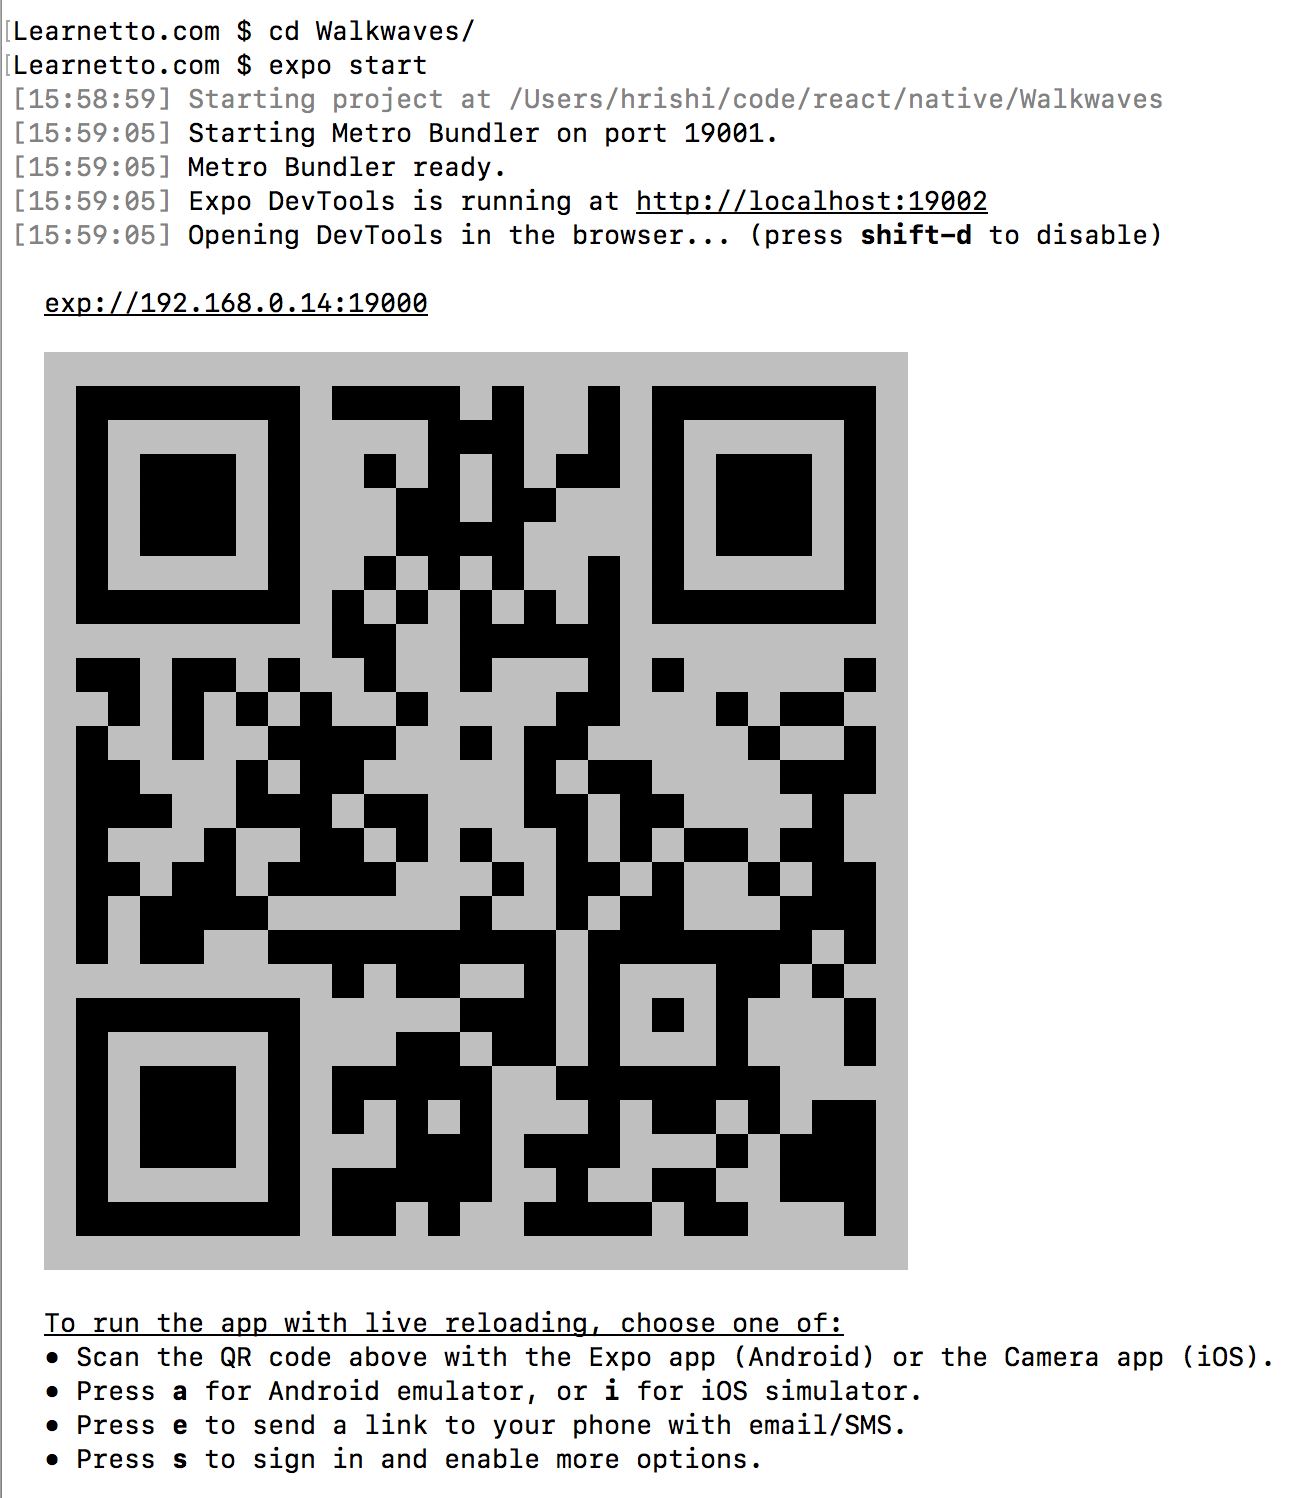
expo start
This will output something like this on the terminal: Expo development server starting Step 4: Run the app on your phone or a simulator
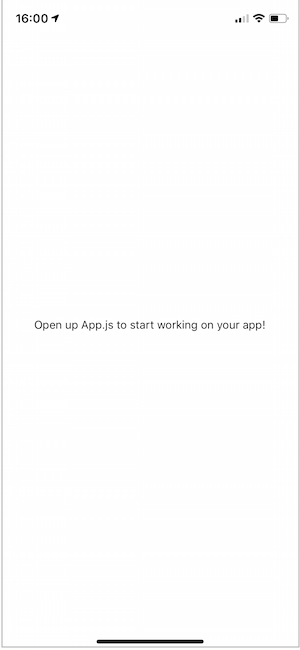
Using one of the methods shown above, launch the app. I'm running it on an iPhone XS by scanning the QR code with the camera app which prompts you to open it in the Expo iPhone app. This is what it looks like: Default React Native app screen
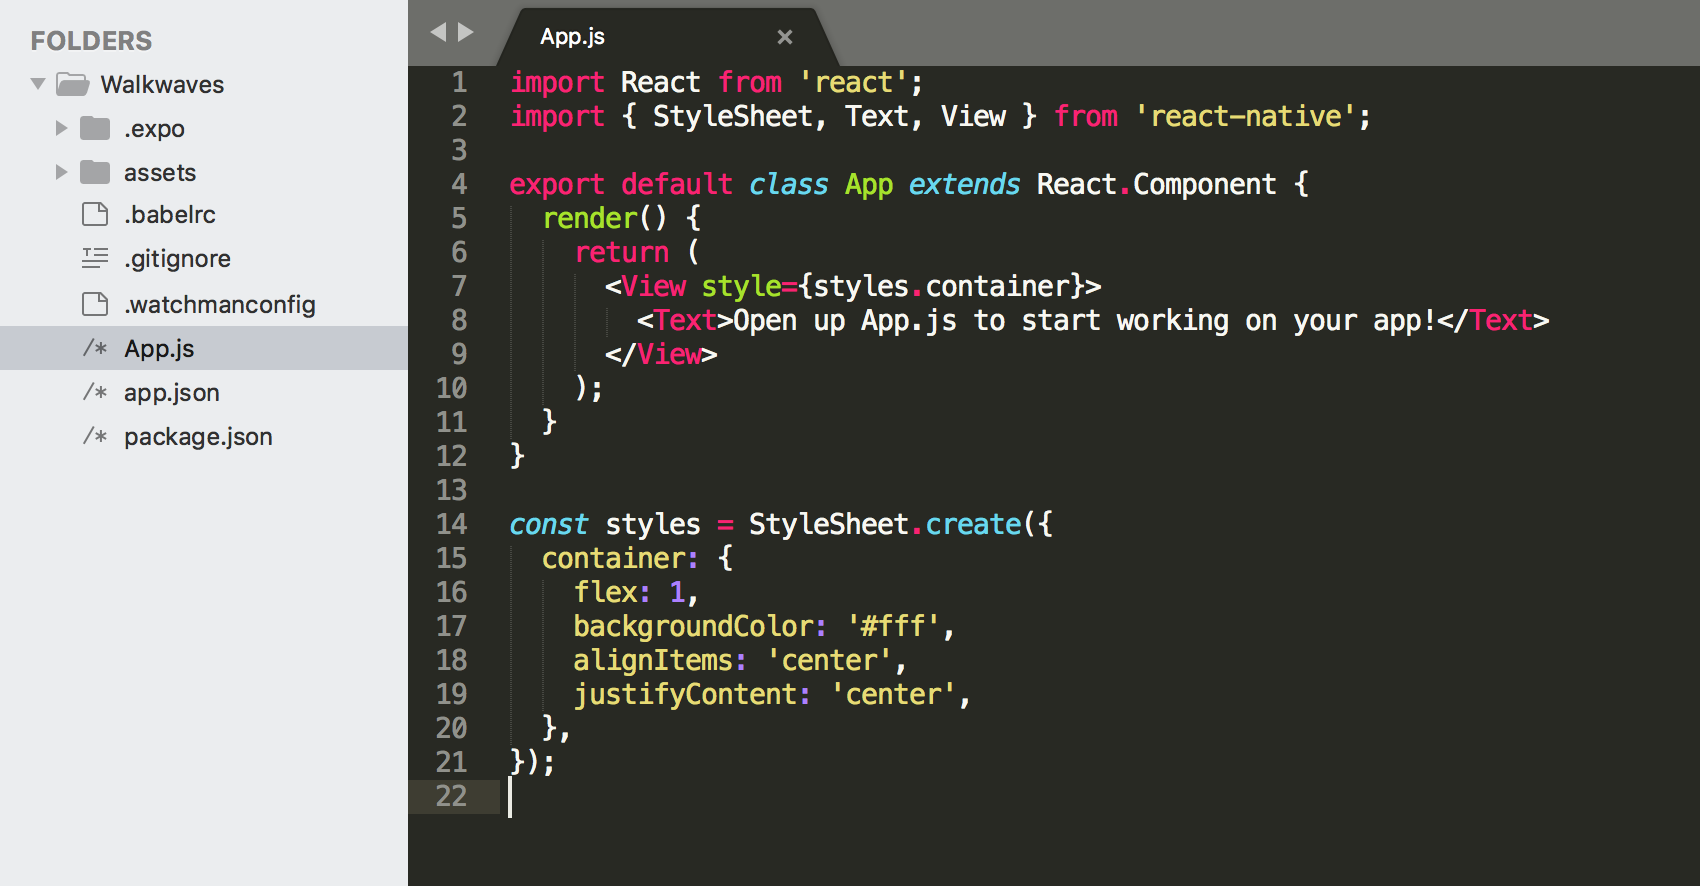
This is what the code directory structure and App.js looks like: App.js
If you know any React, this will look very familiar to you. We import some components from the react and react-native libraries and then define the App component.
App is a simple React component which renders some text on the screen, using the Text component (which is like a paragraph <p> in HTML) inside the View component (which is like a div).
Step 5: Add a form for entering co-ordinates and geocoding them
We want a text field where we can type in the latitude and longitude, a button to trigger the geocoding (the technical term for conversion to an address), and a Text component to display the result. Of course, our goal is to display it all on a map, but this is just a very simplified first step towards that.
We'll need to import the TextInput and Button components and change the App component as follows:
We can style the default components directly but I found that it's not straightforward. For example, I wasted a lot of time trying to add a background colour to the Button, which is not directly supported (in the current version 0.57).
The React Native Elements library looks nice and provides easy ways to style elements, so I'm going to use that.
Let's add the library to our app:
#Run this on the command line

yarn add react-native-elements
Now let's replace the default components with components from this library and add some styles:
Ok, now the we have a place to store the input and output values. But when we press the button, nothing happens yet...
So, now for the fun part!
Step 7: Add geocoding
I'm going to use the OpenCage Data API for geocoding the co-ordinates. To be more precise, it's reverse geocoding when you go from co-ordinates to addresses, and geocoding when it's the other way around.
OpenCage provides a very easy to use API and they have a generous free plan.
#Run this on the command line

yarn add opencage-api-client
NOTE: At this step, I started getting a strange error from the fetch library (which is a dependency of opencage-api-client), saying "requiring module fetch which threw an exception...". The error goes away when I run the app in remote debug mode. See this discussion for some more workarounds. If you find a more elegant solution, please let me know.
Now, we need to trigger the geocoding when the button is pressed. We can do that by assigning a function - let's call it reverseGeocode - to the onPress prop of the Button component:
It can take a couple of seconds to make the API call to Opencage, get the result and then display it. It would be nice to have some visual feedback when the geocoding is going on.
Step 8: Add loading animation to the Button
The Button component has a handy prop called loading, using which we can display different text based on whether the button action is loading or not.
Let's first add another property to the state called geocoding, which will take a boolean value to indicate if geocoding is going on. We're initialise it as false: