Creating a blog with Cookiecutter-Django & deploying it to Heroku
Updated:
Learn how to build a customized blog using Cookiecutter-Django and deploy it to Heroku. A step-by-step guide for developers to create and launch their own web application.
An introduction on the tech stack we're using and how we'd style our blog
Creating the blog project
Starting a Django App
Model Architecture Planning
Creating the models.py, views.py, urls.py, admin.py & the superuser
Testing our app using Unittests
Creating the data and fine-tuning the templates
Showing Data on the frontend
Deployment to Heroku
I. Introduction
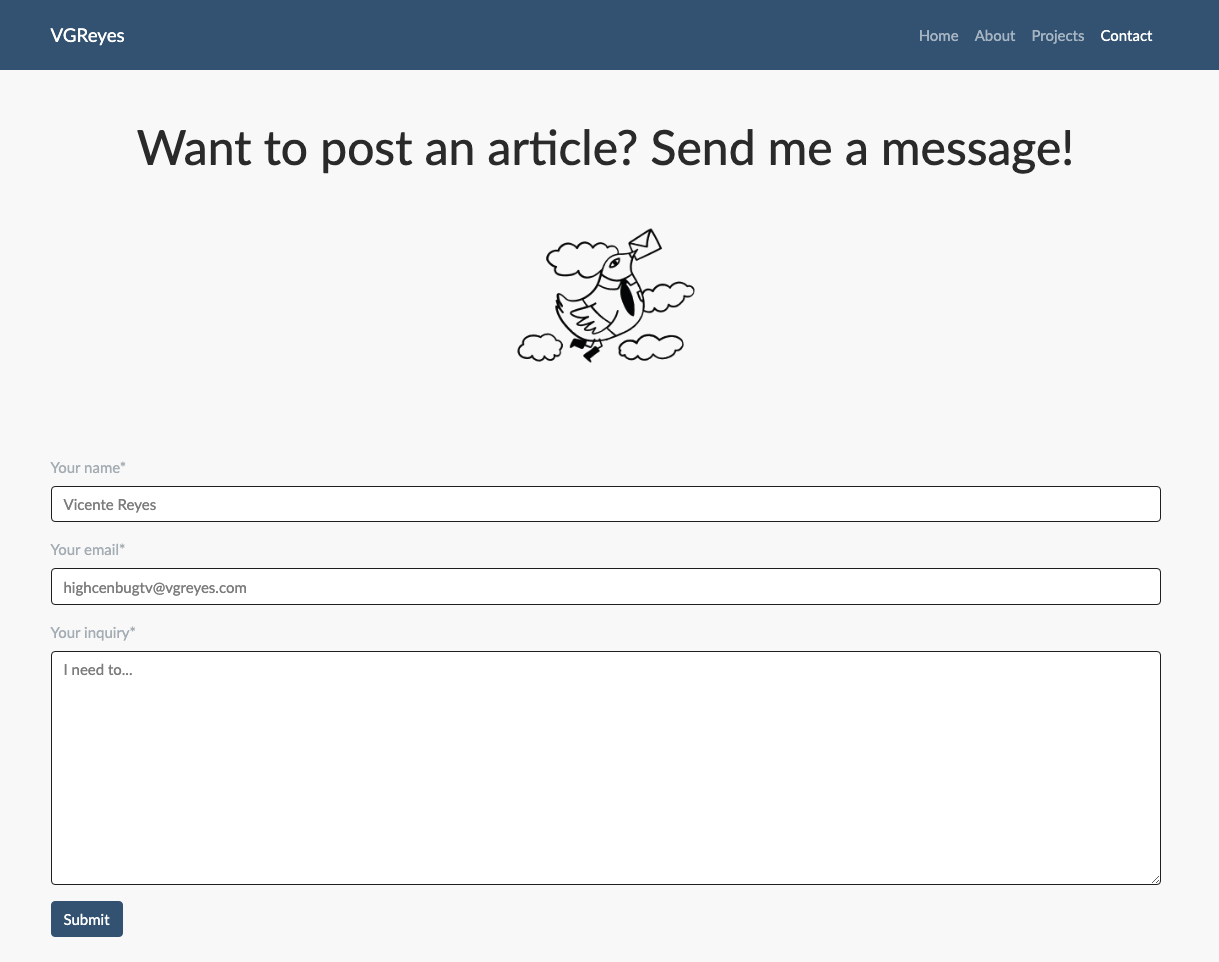
In this tutorial, I'll walk you through developing a blog using the Cookiecutter-Django framework, storing the projects' static assets in an AWS S3 bucket, and deploying the blog to Heroku. Our blog would have a blog model that we'll call Post, a categories model, a contact form, and a model to showcase our past works or a portfolio page.
We'll then be using Bootswatch's Darkly theme, built on top of the Bootstrap CSS framework for our blog's styles. Feel free to choose a different theme if you prefer to.