The aim of this tutorial is to offer a simple introduction to LaTeX. It includes information on how to get the LaTeX system, what hacks to use, and how to get to like LaTeX.
I am a self-taught LaTeX user so I know from experience what initial issues beginners might have. I also believe that learning LaTeX offers you insights into writing, typography, and coding. Throughout this tutorial, I call them "general lessons." You can apply them to different aspects of your work and code, not only to writing in LaTeX.
What is LaTeX (and how to pronounce it)?
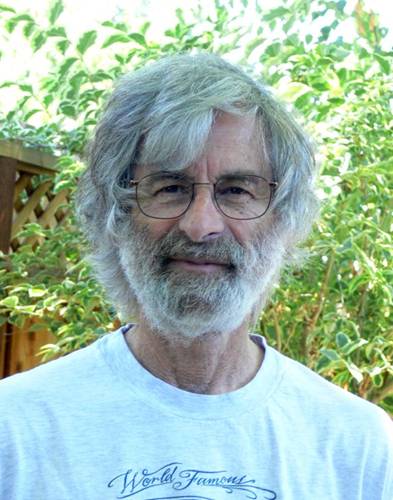
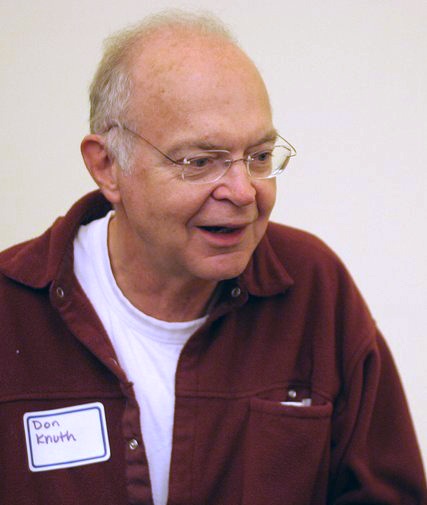
LaTeX is a system for preparing beautiful, professionally-looking documents. The system uses TeX, a markup language, originally created by an American mathematician Donald Knuth and his students.
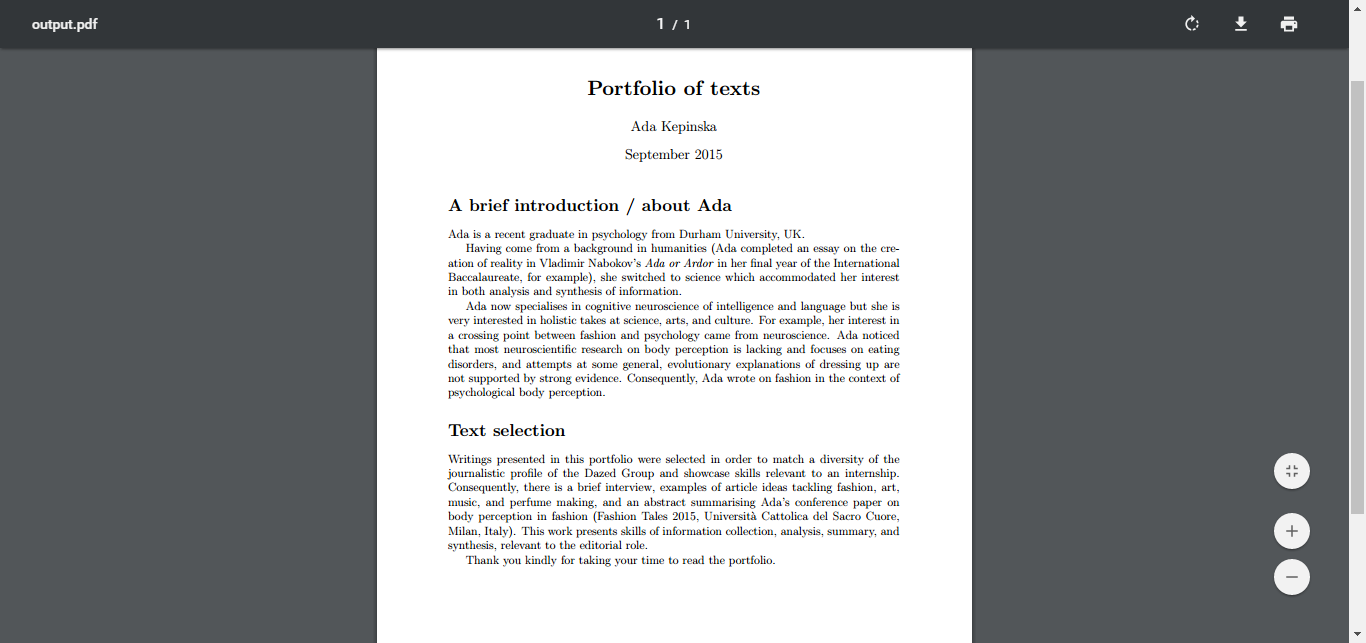
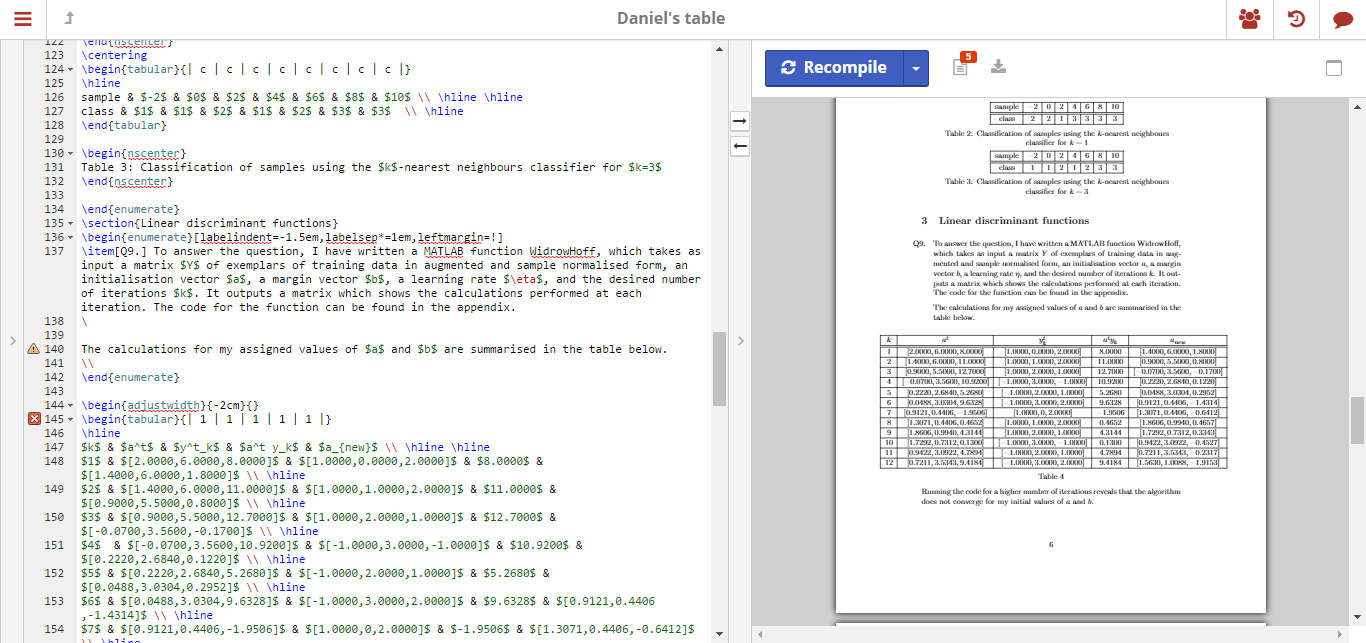
To get your formatted text document, you first write your text. Then you include TeX language. TeX tells LaTeX how you want your document to be formatted (we discuss some TeX in step 2). Finally, you confirm the compiling option in LaTeX. LaTeX then compiles your TeX into a text file (e.g. a PDF file). See an example of a LaTeX-produced PDF file below.
You can read the whole rant by Allin Cottrell in favour of LaTeX. Its title is pretty self-explanatory: “Word Processors: Stupid and Inefficient”. Cottrell argues, LaTeX “will. . . do for us, for free and in a few seconds . . .the job that traditional typesetters did for Shakespeare, Jane Austen, Sir Walter Scott and all the rest. We just have to supply the program with a suitably marked-up text, as the traditional author did.”
Here’s why I think you should use LaTeX:
With LaTeX, you focus on writing. You don't format typography by hand. Classes and packages do the job - they are specific sets of rules for the typography in the whole document.
Word formatting tends to get messy. With LaTeX, you get a consistent result on every device.
Big Word documents get slow and take up a lot of space. LaTeX-generated PDFs are smaller.
There is plenty of sophisticated LaTeX templates you can use, even if you are new to TeX.
LaTeX is a game changer for how elegant your text looks. LaTeX produces professional tables and equations.
LaTeX automatically updates lists of tables, figures, captions, and references.
Also, the idea underlying LaTeX is the first "general lesson" you can apply to your work. When you work on a text, your text should be key, formatting is of secondary importance.
When you work on a text, your text should be key, formatting is of secondary importance.
Now that we know what LaTeX is, what about pronunciation of LaTeX?
LaTeX Project (official LaTeX provider) states it as «Lah-tech» or «Lay-tech». People disagree whether «eX» should rhyme with «bleh». Some pronounce it like \tɛk\, like in tech-nology. One thing is certain, though. LaTeX is not pronounced the same way as the body-fitting material.
How to get started: A step-by-step guide
There are four steps to follow. Each step has things to remember.
Step 1. Get the TeX system or a LaTeX file editor
There are three ways of writing your documents in LaTeX. I describe each and analyse some examples of editors based on my own experience.
LaTeX online file editors
If you don’t want to spend time installing the LaTeX system, LaTeX online file editors are a good option. The two often used editors are Overleaf and ShareLaTeX. Full disclosure: I use both.
Overleaf Overleaf is more beginner-friendly than ShareLaTeX because it has a Rich Text option. In other words, you can write your text pretty much the same way as you would in Word. For example, you can add a bulleted list you see on the screen. Then Overleaf translates it all into TeX.
However, this option didn’t help my learning much. I was just using it as a shortcut instead of learning the actual language. So you may want to turn it off or switch to ShareLaTeX which doesn’t offer it.
I find ShareLaTeX more pleasant to use than Overleaf if I have to write long texts. ShareLaTeX has fewer elements on the site than Overleaf. The ShareLaTeX file setup options are hidden while they are exposed in Overleaf. I find this distracts me in Overleaf sometimes.
But these are personal preferences and you should be happy with either editor. Both are good and fairly intuitive to use. Both also highlight potential mistakes so that you can correct them straight ahead. This function is particularly useful for a beginner.
WYSIWYM (“what you see is what you mean”) editor
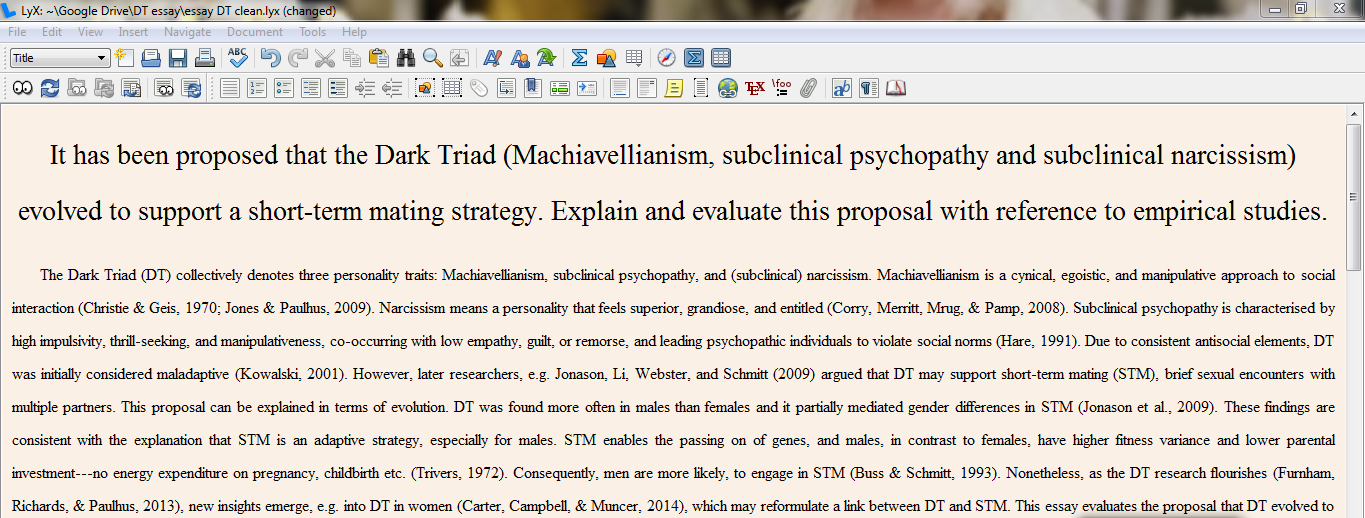
Another option for a complete beginner is a WYSIWYM editor. That’s how I started with LaTeX. I used an editor called LyX, so I will explain the idea behind WYSIWYM (“what you see is what you mean”) using LyX.
My first impression of LyX: a light pink equivalent of Word.
Like in Overleaf, you write and format your text as you would in Word. Then you compile the file which translates your edits into TeX and produces a PDF file with LaTeX.
Word is a WYSIWYG (“what you see is what you get”) software. The final look of your text reflects everything you see on the screen. LyX is a WYSIWYM editor because you tell LyX what kind of basic formatting you want. LyX then completes the full document set-up for you.
There is an issue with this type of editor, though. It is difficult to introduce custom edits. You don’t really get to see your TeX so you cannot change it much or trace down mistakes.
For this reason, I moved to actual language writing. I get a clear idea what I am writing where and why. I know how it translates into the final document (or what mistakes prevent me from getting what I want).
This is a second "general lesson" you can get from learning LaTeX. Always try to establish what you want to get first, and then translate it into code. That way, it will be easier for you to follow the logic of your code or find mistakes.
Always try to establish what you want to get first, and then translate it into code. That way, it will be easier for you to follow the logic of your code or find mistakes.
LaTeX system
LaTeX system is the (“THE”) system you can download from LaTeX Project. It offers you all the advantages of LaTeX, but it is an advanced option. It can be kind of overwhelming for a complete beginner. It takes a long time to set up so it might be better for users who prefer manual, personalised settings.
There are many other TeX editors, and you can compare for yourself and find your personal best match.
Step 2. 5-minute crash course in basic LaTeX commands
Now it is time for a quick crash course of basic LaTeX commands. Commands are the most basic elements that you need to include for your file to work.
I chose commands to discuss based on my personal experience. If you are a beginner, getting these commands wrong is a likely reason why your files don’t compile.
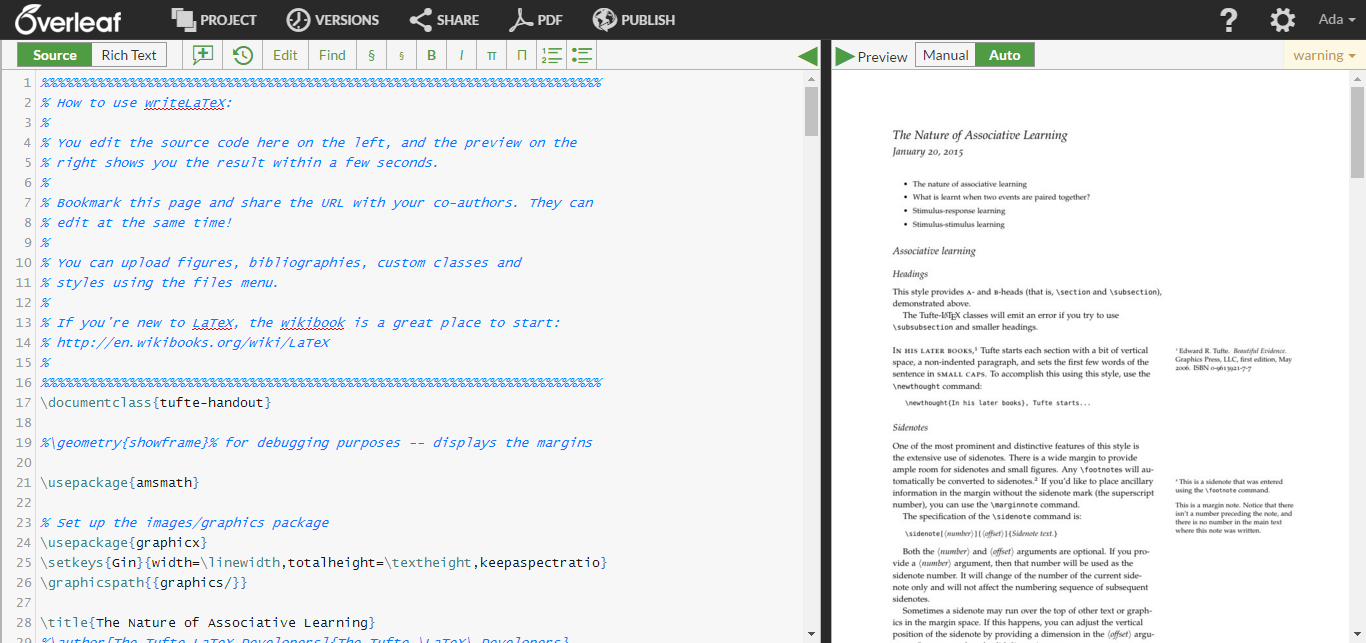
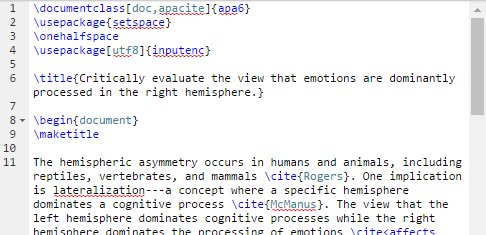
To understand commands in context, let’s look at an example - my old neuroscience essay.
Key elements of a LaTeX file are: class, packages (the two together make a section called preamble), \title and \maketitle, \begin{document} and \end{document} commands, \abstract, \section, and \includegraphics.
The order you place them in the document is: class, packages (\title is optional), the \begin{document} command, \section (which indicates a new section), and then text. Text can include pictures. To insert pictures, you use \includegraphics. Each LaTeX file needs to be closed with a \end{document} command in the final line. I explain each element below. Class and packages The “style rules” determining typography of a document.
What is the difference between them?
Document class is the more powerful, overarching set of style rules. You need to start with class, otherwise your file won’t compile. Say you have a publisher who tells you to use APA style when you format your writing (like I was told to do at university). APA style is that your document is set in Times New Roman 12, has two columns, etc. In Word, I would need to work through setting up all these features by hand. In LaTeX, I type a specific class name (apa6, signifying the APA style). My final PDF file contains text formatted in APA style.
Packages are extra features not necessarily determined by class. You also use packages if you need a specific feature which is different than in the whole class. To come back to my example, APA style states that text should be single-spaced. Yet my university department required APA with double-spaced text. So I used a setspace package to get this text setting.
Preamble Everything that falls between the document class and the \begin{document} command.
Elements such as document spacing have to be set up in the preamble with a package. You cannot copy packages into a specific place in the text as you need them. They are confined to the preamble (even though they influence the whole document set up.)
\title and \maketitle After preamble (with as many packages as you need in it), you can have an optional \title. It depends on a document class you use. Some classes don’t use titles. In other classes you use \title{} in the preamble. Then you put an extra \maketitle after \begin{document}. To check how to set up your title, google up the name of your class.
\begin{document} and \end{document} Two commands without which your file won’t compile, no matter what class. \begin{document} goes right before the body of your text. \end{document} goes into the final line of your TeX file.
I know how easy it is to forget about them after you spend a lot of time tweaking the preamble. The way I go about it is start my file with class and the two commands. Then I double-check if I have \begin{document} above my text as I start to write.
\abstract A command used to insert an abstract.
\section A command used before the numbered section heading of your document. If you want an unnumbered section heading, write \section* (add a star).
\includegraphics A command used to insert a figure. To get it to work, you need to upload your figure to the same folder as your TeX file (or into your LaTeX file editor). Then you need to include put your \includegraphics command between \begin{figure} and \end{figure}.
Let’s assume I want to include a photo called Prince.jpg as a figure in my LaTeX document. I would write the following:
Overall, LaTeX commands and packages can seem complicated at first. It is good to insert them carefully and double check them before you compile your file.
Develop coding habits. They will save you time and effort - that is the third "general lesson" you get out of learning LaTeX.
Develop coding habits. They will save you time and effort
Step 3. Some quick hacks to make formatting easier
As we already noticed, formatting typography is easier in LaTeX thanks to classes. But there are other hacks you might want to pay attention to, especially as a beginner. Using documentation, templates, and table editors will make the process of formatting more straightforward.
Documentation Different classes are often accompanied by extra documentation (see an example: documentation on how to use the apacite package). Reading documentation will give you a better idea of how you can modify your class to make it closer to what you need. When you look at my essay above, my \documentclass is {apa6}. But packages in square brackets [doc, apacite] get me citations and structure I need.
Templates Another solution for a beginner are templates. ShareLaTeX, Overleaf, LyX, and the internet have a wide range of document templates. You can fill them in with your data as needed, without worrying that you have to write a document from scratch.
Table editors A final issue is that LaTeX creates beautiful tables but writing them in TeX is complicated. Table editors like this onewill save you a lot of time and effort.
Playing around LaTeX tables teaches you the fourth "general lesson." Plan your tables to be as simple as possible. Include necessary information only.
Plan your tables to be as simple as possible. Include necessary information only.
Step 4. Don’t get disheartened
Reading this tutorial, you might get a strong impression that LaTeX is really complex. This might be disheartening.
I know how you feel! I was first introduced to LaTeX with a comment, “Give it a try, it will save you so much time!” At first, I was completely lost. Ironically, I experienced a complete opposite of what I had been told. My breakthrough moment came when I played with LaTeX more. I learnt from my (multiple) mistakes.
LaTeX has a steep learning curve initially. It's confirmed by my experience and the experience of plenty of fellow LaTeX users I have spoken to. We’ve all been there!
Here comes your fifth "general lesson" from learning LaTeX. Success in coding depends on whether you persist and learn from your mistakes.
Success in coding depends on whether you persist and learn from your mistakes.
If you need help, Stack Exchange and LaTeX on Wikibooks are places to start. TeX Stack Exchange is full of good answers. Questions are often posted by beginners so fellow users try to give simple explanations. Wikibooks has user-friendly manuals written in simple language.
My time spent with them always reminds me of my final "general lesson" I learnt as a LaTeX user. I heard one self-taught coder say it, “Being a good programmer is not about having all the answers. You will never have them anyway. It is about knowing what questions you need to google up.”
Being a good programmer is not about having all the answers. You will never have them anyway. It is about knowing what questions you need to google up.
Best of luck! Take our "general lessons" with you:
When you work on a text, your text should be key, formatting is of secondary importance.
Always try to establish what you want to get first, and then translate it into code.
Develop coding habits.
Plan your tables to be as simple as possible. Include necessary information only.
Success in coding depends on whether you persist and learn from your mistakes.
Being a good programmer is not about having all the answers. It is about knowing what questions you need to google up.
Enjoy improving your typography, code, and writing.