Let’s start building the component hierarchy by creating the EventsList and Event components.
The Eventlite component we created earlier looks like this:
Eventlite.js
import React from 'react'
import ReactDOM from 'react-dom'

const Eventlite = props => (
  <div>
    {props.events.map(function(event){
      return(
        <div className="event">{event.title}</div>
      )
    })}
  </div>
)

document.addEventListener('DOMContentLoaded', () => {
  const node = document.getElementById('events_data')
  const data = JSON.parse(node.getAttribute('data'))
  ReactDOM.render(
    <Eventlite events={data} />,
    document.body.appendChild(document.createElement('div')),
  )
})
Let’s move the code for looping through the events data and displaying each event’s title into a new EventsList component.
EventsList.js
import React from 'react'

const EventsList = props => (
  <div>
    {props.events.map(function(event){
      return(
        <div className="event">{event.title}</div>
      )
    })}
  </div>
)

export default EventsList
It’s a simple functional component which expects events as a prop.
Now we can use this component inside the Eventlite component. We need to first import it and then replace the code inside the outer div tag.
Eventlite.js
import EventsList from './EventsList'

const Eventlite = props => (
  <div>
    <EventsList events={props.events} />
  </div>
)
Note that to import a component, we use the relative path to the file containing the component code, without the file extension.
We can use a component with a self-closing HTML style tag, passing it props like attributes.
If you look at the developer console in your browser window, you’ll notice that React is throwing a warning:
Warning: Each child in a list should have a unique "key" prop.

In a list of elements, keys help React identify which items have changed, are added, or are removed. Keys should be given to the elements inside the array to give the elements a stable identity.
So let’s use the index of each element of the events array as its key:
EventsList.js
const EventsList = props => (
  <div>
    {props.events.map(function(event, i){
      return(
        <div key={i} className="event">{event.title}</div>
      )
    })}
  </div>
)
Note that we can set a key by passing a value to the key prop in the outermost enclosing tag of the list element.
As we discussed earlier, we also want to create an Event component to display details of individual events.
Just like we did with the container Eventlite component, we can further refactor the EventsList component by extracting the code for displaying the event title into a separate Event component.
This new Event component will take event as a prop.
Event.js
import React from 'react'

const Event = props => (
  <div className="event">{props.event.title}</div>
)

export default Event
Now we can use it in EventsList. We need to import it first and then replace the div tag with an Event tag passing it two props - key and event.
EventsList.js
import Event from './Event'

const EventsList = props => (
  <div>
    {props.events.map(function(event, i){
      return(
        <Event key={i} event={event} />
      )
    })}
  </div>
)
Now that we’ve created the component hierarchy we want, let’s add display some more event details. In addition to the event title, let’s also display the event date and location.
Event.js
const Event = props => (
  <div className="event">
    <h2 className="event-title">{props.event.title}</h2>
    <div className="event-datetime">{props.event.datetime}</div>
    <div className="event-location">{props.event.location}</div>
  </div>
)
Let’s add the following styles to events.scss:
events.scss
h2.event-title {
font-weight: 300;
}
.event-location {
color: #999999;
margin: 5px 0;
}
.event-datetime {
color: #FD7E14;
margin: 5px 0;
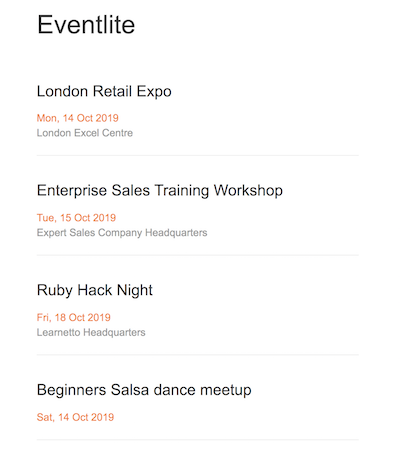
}If you refresh the page now, our app looks like this: