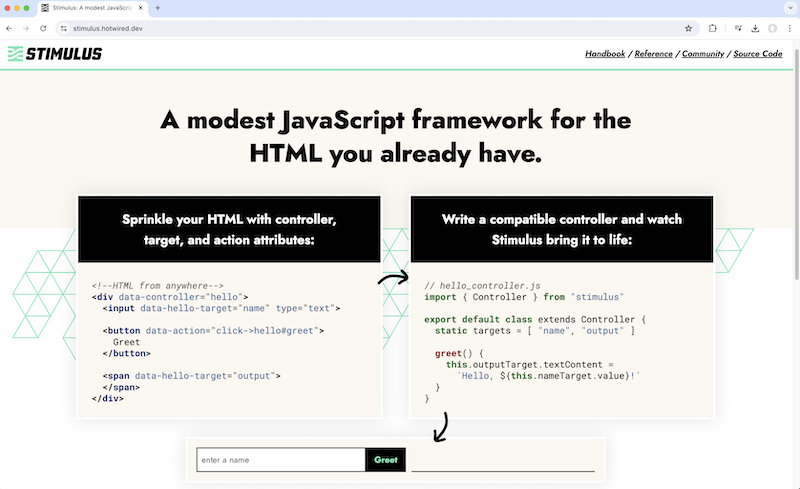
In this lesson, we’ll create an interactive image gallery for the product page using Stimulus.
Here we have all the thumbnails of the product’s images and the first one is displayed as a large image. Screenshot 2024-07-23 at 10.05.32.png 428.54 KB We want to be able to click on any thumbnail to see the large version of it above.
Stimulus is a part of Hotwire. It’s "a modest JavaScript framework for the HTML you already have". stimulus.png 173.63 KB
Stimulus gives you a lightweight way to add interactivity to webpages.
You start by adding 3 data attributes to your HTML:
controller
target
action
Stimulus automatically connects DOM elements to JavaScript objects called controllers.
The controller is where you define the logic of the interaction.
In the example on the Stimulus homepage, there's a form with an input text field where you can enter a name. When you click greet, it displays the text “Hello” with the entered name.
We start by importing the built-in Controller class from Stimulus. We will extend this to define our own hello controller.
import { Controller } from "stimulus"
exportdefaultclass extends Controller {
Note the naming convention here. The file is called hello_controller.js. That’s the controller name followed by "_controller.js". The name hello is what's used as the identifier value for the data-controller attribute on the container div.
Next we define a list of targets as static properties on the class.
static targets = [ "name", "output" ]
Targets map HTML elements to controller properties.
We have two targets here - the input name and the output.
Stimulus will automatically create corresponding properties for each of them - this.nameTarget and this.outputTarget respectively.
Again, note the naming convention here. this dot the name of the target followed by the word Target with a capital T.
The backticks mean it’s a template literal, and the dollar curly brackets ${ } are used to embed an expression within the string. This is similar to string interpolation in Ruby with hash curly brackets #{ }.
Now that we have the basic idea of how Stimulus works, let’s put it to use by building our very own first Stimulus controller.
Instead of coding it from scratch, we can use a Rails generator:
bin/rails generate stimulus gallery
And that will create gallery_controller.js in app/javascript/controllers.
import { Controller } from "@hotwired/stimulus"

// Connects to data-controller="gallery"
export default class extends Controller {
  connect() {
  }
}
First we import the Controller class from stimulus and then extend it.
Stimulus has automatically added a method called connect.
This is a special method - a lifecycle callback. There are a few of these special methods. connect runs anytime the controller is connected to the DOM.
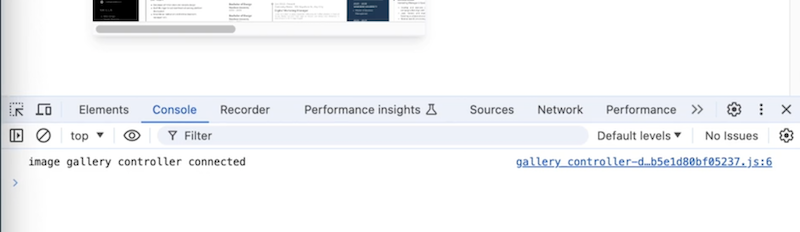
To see it in action, let’s add a console log statement that says image gallery controller connected.
Then we need to define a data-controller attribute so Stimulus knows which DOM element to connect this controller to.
Let’s go to the product partial (app/views/products/_product.html.erb) and add a data controller attribute to the outermost div. And set its value to gallery.
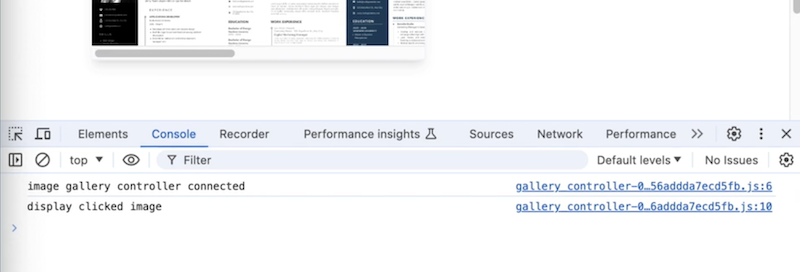
Ok, now let’s define this display method in the controller. First, let’s simply console log a message “display clicked image”. So we know our action attribute is working correctly.
Remember the naming convention here - target name “display” followed by the word Target with a capital T.
We can get the src of the thumbnail image via “event” i.e. the click event which we used in the data-action attribute.
currentTarget is the DOM target on which the data-action attribute is defined. In this case, it’ll be whichever thumbnail image is clicked.
Ok, now let’s try that in the browser. Refresh and click a different thumbnail And there you go - the big displayed image changes to that one. Try clicking another one and it works.